Planning a pre-wedding shoot involves more moving parts than most couples expect — booking, locations, outfits, timing, weather backups, and making sure the photos arrive before your invitations go out. Handled in the right order, it's straightforward. Handled backwards, it gets stressful fast.
This is the complete planning checklist, in the order things actually need to happen. Each step links to a deeper guide if you want more detail. Ready to get started? Message us on WhatsApp and we'll help you plan it.
Step 1: Decide if a pre-wedding shoot is right for you
Before anything else, be clear on what you want the photos for — invitations, save-the-dates, a banquet montage, framed portraits, or simply having beautiful images of this season of your life.
It's also worth understanding how pre-wedding differs from ROM and actual day coverage, since they serve different purposes and many couples book more than one. Our guide to ROM vs actual day vs pre-wedding coverage breaks it down.
Step 2: Set your timeline and book early
Most couples book 6 to 12 months before the wedding. That leaves room for delivery (our final photos arrive within 2 to 4 weeks), then invitations and banquet displays.
Book the date first — locations and outfits can be finalised later. Golden-hour weekend slots go quickly.
=> Full detail: when to do your pre-wedding shoot — best time of year, best time of day, and how far ahead to book.
Step 3: Choose your package
Pre-wedding packages are built around outfit changes, since each look gives your gallery a distinct chapter.
- Package 01 — 2 outfits, 25 retouched images, photo album, from $800
- Package 02 — 3 outfits, 35 retouched images, album plus framed prints, from $1,200
Add-ons available: gown rental ($200–$950), suit rental ($200), and basic alterations ($150).
=> Full detail: pre-wedding packages and what's included.
Step 4: Decide local or overseas
Shooting in Singapore is cost-effective, low-logistics, and offers huge variety in a small area. Overseas shoots — we arrange these in China through trusted partners — give dramatic scenery and a trip-like experience, at higher cost once travel is included.
=> Full detail: local vs overseas pre-wedding shoots.
Step 5: Choose studio, outdoor, or both
Studio gives clean, timeless portraits in air-conditioned comfort with no weather risk. Outdoor gives atmosphere and a sense of place. Many couples pair one studio look with one or two outdoor looks for range — and a built-in weather hedge.
=> Full detail: studio vs outdoor pre-wedding shoots.
Step 6: Pick your locations
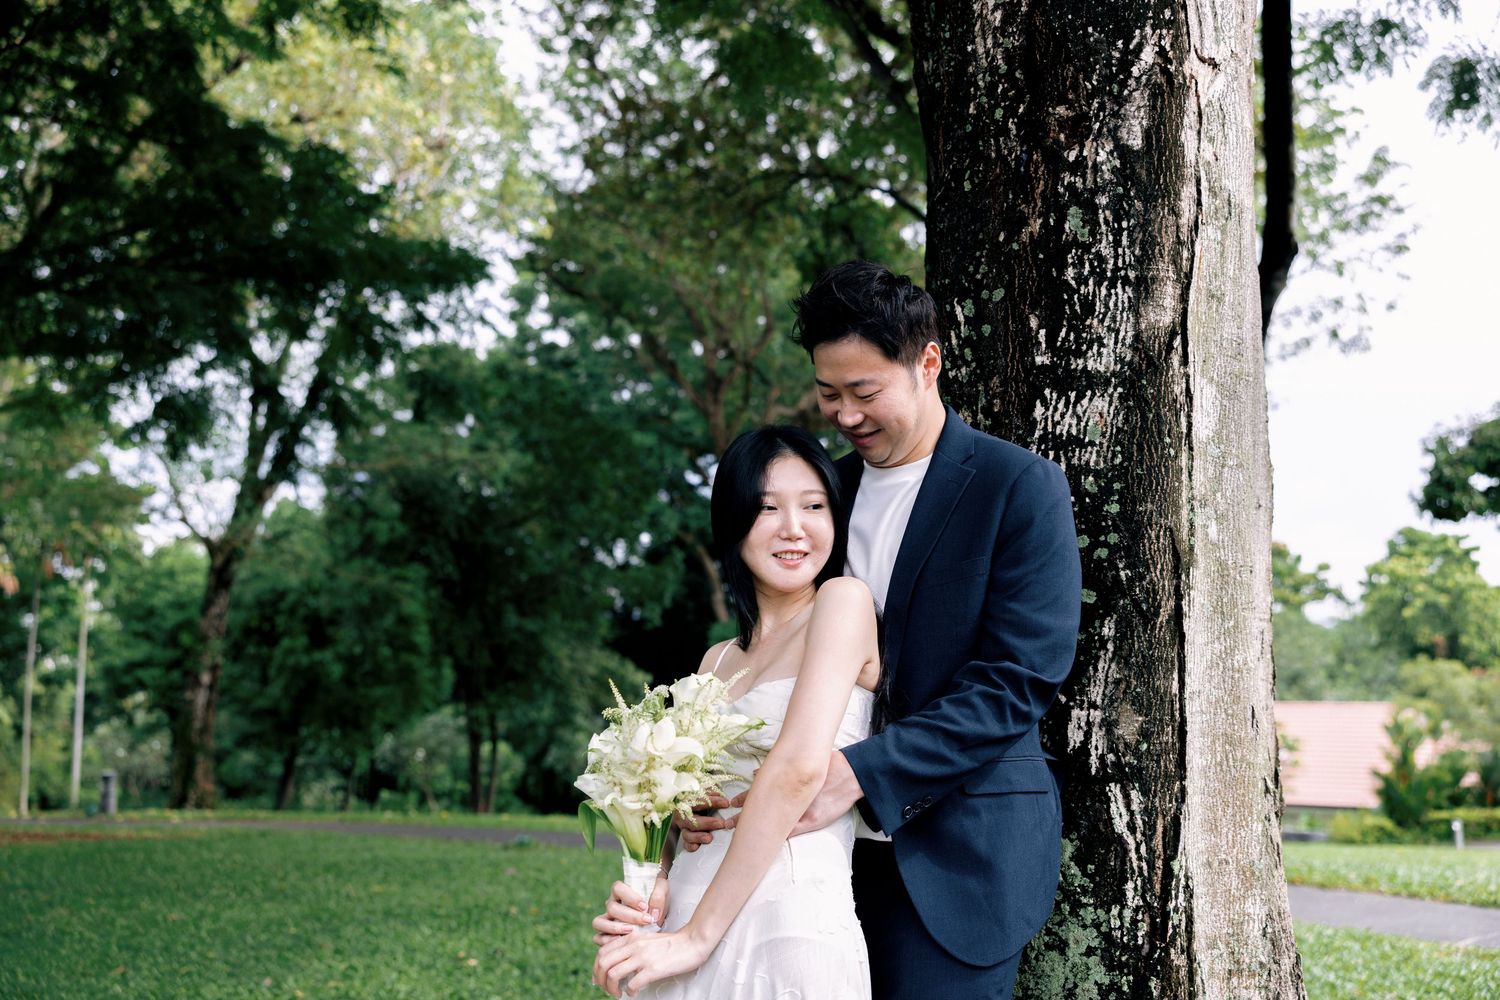
If you're shooting outdoors, choose locations that suit your concept — gardens for romance, the city for editorial, heritage areas for texture. Consider travel time between spots, and check whether any venue needs a permit or booking.
=> Full detail: 10 best pre-wedding photoshoot locations in Singapore.
Step 7: Plan your outfits
Match each look to its setting, agree a shared colour palette as a couple, and sort fit and alterations early — fit is what separates "nice" from "stunning" on camera. If you're renting, confirm well ahead.
=> Full detail: what to wear for your pre-wedding shoot and gown and suit rental.
Step 8: Confirm the practical details
- Weather backup: a sheltered or studio alternative for outdoor sessions
- Timing: golden hour if you want the softest light
- Hair and makeup: book your artist around the shoot start time
- Travel: how you'll move between locations with outfits and gear
Step 9: Know what to expect on the day
You don't need to know how to pose — you'll be guided throughout. Bring your outfits and shoes, accessories, a touch-up kit, water, and an umbrella. Allow more time than the shooting hours alone, since changing and travel add up.
=> Full detail: what to expect on your pre-wedding shoot day.
Step 10: After the shoot
Your photos are edited and delivered within 2 to 4 weeks. From there, use them for invitations, save-the-dates, banquet montages, and prints. Both packages include a photo album, and extra prints or albums can be ordered.
The quick checklist
- Decide what you want the photos for
- Book 6–12 months before the wedding
- Choose your package (2 or 3 outfits)
- Decide local or overseas
- Choose studio, outdoor, or both
- Shortlist and confirm locations
- Plan outfits, rentals, and alterations
- Confirm weather backup, timing, hair and makeup
- Prepare your shoot-day bag
- Plan how you'll use the photos after delivery
Frequently asked questions
- How do I start planning a pre-wedding shoot? => Begin by deciding what you want the photos for, then book your date 6 to 12 months before the wedding. Locations, outfits, and details can be confirmed after your date is secured.
- How far in advance should I plan? => Most couples plan 6 to 12 months ahead, which allows time for the shoot, a 2 to 4 week delivery, and then invitations and banquet displays.
- What's the most commonly overlooked step? => A weather backup for outdoor sessions, and sorting outfit fit and alterations early enough. Both are easy to fix in advance and stressful to fix last-minute.
- How much does a pre-wedding shoot cost in Singapore? => Our packages start from $800 for 2 outfits and $1,200 for 3 outfits, with retouched images and a photo album included.
Ready to start planning?
Tell us your wedding date and the look you're after, and we'll help you map out the whole shoot. Message us on WhatsApp